Hi friends
After long time i again write blogs for you, i hope you doing well, so today in this post we are learn about how to create Android TV app in android studio. So i explain step to step and every class and component what's exactly works.
So let's start without loss moment....
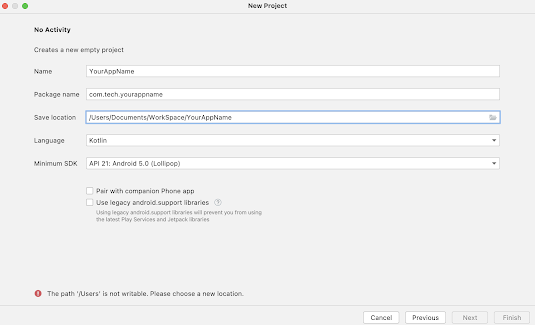
First you create app as like you create your android app and select Android Tv from options. Now you select No Activity. Actully we can choose Empty Activity but so more code comes in project so very difficult for understanding which component what is works. So we are fallow very simple way and understand one by one component .
Please follow steps...


Add fragment
<?xml version="1.0" encoding="utf-8"?>
<fragment xmlns:android="http://schemas.android.com/apk/res/android"
xmlns:app="http://schemas.android.com/apk/res-auto"
xmlns:tools="http://schemas.android.com/tools"
android:id="@+id/main_browse_fragment"
android:name="com.tech.yourapp.MainFragment"
android:layout_width="match_parent"
android:layout_height="match_parent"
tools:context=".MainActivity"
tools:deviceIds="tv"
tools:ignore="MergeRootFrame" />
class MainFragment : BrowseSupportFragment() {
Now
At first, let’s make activity. Right click on “com.tech.yourapp”, and choose
New -> Activity -> Blank activity
Check “Launcher Activity”.
I will start from making blank activity, named “MainActivity“.
Next, we want to design UI of MainActivity by creating MainFragment.
Right click on the package name (in my case com.tech.yourapp)
New -> Java Class -> Name: MainFragment
* Instead of above procedure, if we choose New -> Fragment -> Blank fragment Uncheck “Create layout XML?”, it makes too match sample source code.
First, modify activity_main.xml as follows so that it only displays mainfragment.
* Click right-top “<>” icon on the code, if you want to copy & paste
Second modify
MainFragmentas follows.We will make this
MainFragmentas a sub-class ofBrowseSupportFragment.BrowseSupportFragment class is supplied by Android SDK Leanback library, and it creates standard UI for Android TV application which we will see through this Tutorial.
    override fun onCreateView(inflater: LayoutInflater, container: ViewGroup?, savedInstanceState: Bundle?): View? {
        return inflater.inflate(R.layout.fragment_main, container, false)
    }


}
Now build and run it
For more info Please go to github